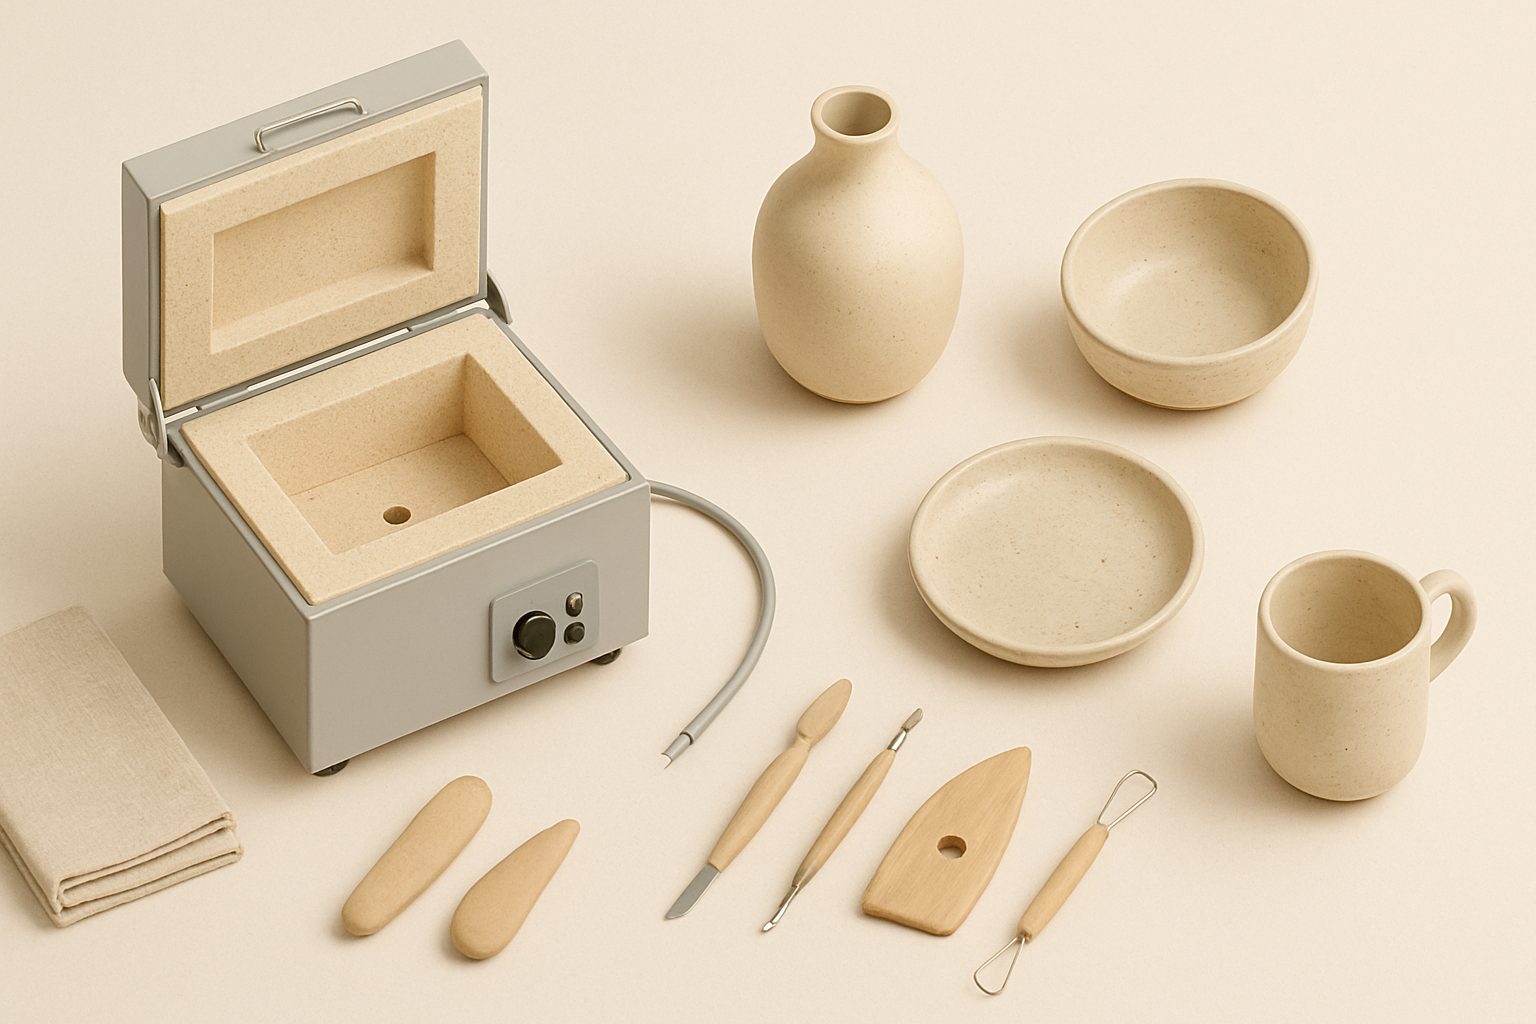
How to Fire Pottery at Home for Beginners UK – Bisque, Glaze & Common Mistakes
Firing pottery at home is one of the most rewarding steps in the ceramic journey—watching raw clay transform through heat into finished work is genuinely magical. But if you're new to this, the firing process can feel mysterious and daunting. The good news: bisque and glaze firing follow straightforward principles once you understand what's happening in your kiln. This guide walks you through both stages, practical timings, and the mistakes that catch most beginners.
Why You Need Two Firings
Pottery requires two separate firings, and this is non-negotiable—not a stylistic choice. The first, bisque (or biscuit) firing, turns your unfired clay into porous ceramic. The second, glaze firing, melts the glaze coating into glass. They happen at different temperatures for good reasons.
Your bisque firing is forgiving. It burns off water, organic matter, and gases trapped in the clay. Even if you make mistakes here—like a piece that's too thick or has air bubbles—the clay will still harden. It'll be fragile (bisque is basically chalk), but it'll transform. This is why beginners often find bisque less stressful than glaze firing.
Glaze firing is where it matters. By the time your pieces reach the kiln glazed, they're rigid and ready. The kiln's job is to reach the right temperature so your glaze melts into a proper surface. Too cool, and your glaze stays powdery. Too hot, and it runs off the pot or becomes over-fired and dull.
Bisque Firing: Your First Step
Bisque firing typically runs between 1000 and 1100°C for earthenware, or 1200°C for stoneware. Most UK home kilns are capable of this easily. The actual temperature you choose depends on your clay body—check the manufacturer's data sheet for your specific clay.
The practical schedule:
- Ramp to 200°C over 2–3 hours at a slow rate (about 60–80°C per hour). This phase is critical. Water is still escaping from the clay, and if you rush, pressure builds up inside the pot and it explodes. This is the leading cause of bisque kiln disasters.
- Hold at 200°C for 30 minutes to allow remaining moisture to escape.
- Ramp to your target temperature (1050–1100°C for earthenware) over the next 3–4 hours. This part is less critical—you can go faster once the clay is dry.
- Soak for 20–30 minutes at peak temperature. Soaking allows the clay to mature fully and ensures even firing throughout the kiln.
- Cool naturally. Don't open the kiln until it's below 100°C. This takes about 24 hours.
The entire bisque cycle takes roughly 24–36 hours. If your kiln has a controller or programmer, set this schedule and walk away. If it's manual, you'll need to monitor it—less ideal for beginners.
Glaze Firing: Getting the Finish Right
Glaze firing is hotter and shorter. You're melting glass, not transforming clay. Earthenware glazes typically fire to 1040–1100°C. Stoneware glazes go to 1200–1280°C. Again, your glazes should come with recommended peak temperatures—follow those.
A typical glaze firing schedule:
- Ramp to 300°C over 1–2 hours to dry out the glaze layer. Glazes are water-based suspensions; if you heat too fast, they bubble and blister.
- Ramp to peak temperature over 3–4 hours. A slower ramp (30–40°C per hour) gives glazes a chance to smooth out and mature.
- Soak for 10–15 minutes at peak temperature.
- Cool to 600°C quickly (if your kiln allows), then cool naturally to room temperature.
Glaze firing is faster overall—about 12–18 hours total. This is why many potters glaze-fire multiple times with the same bisque load.
Common Beginner Mistakes—And How to Avoid Them
Rushing the early heating. This is the number-one cause of cracks and explosions. Slow and steady saves pots. Water and trapped air need time to escape.
Overcrowding the kiln. Pieces need air circulation around them. Stack carefully; don't pack them in. Uneven heating leads to under-fired or over-fired spots.
Not checking your glaze application. Glaze should be about the thickness of a credit card. Too thin, and it won't fuse properly; too thick, and it runs off the pot and sticks to your kiln shelf. Use test tiles every time you open a new glaze.
Ignoring the clay and glaze data sheets. Manufacturers provide firing ranges for good reason. Firing earthenware glaze at stoneware temperatures won't work well, and vice versa. Match your clay and glaze to your kiln's capabilities.
Not levelling your kiln shelf. If your shelf rocks, uneven heat distribution will show up immediately—one side of the kiln will be noticeably darker than the other. Use a spirit level and kiln stilts or props to get it true.
Forgetting to leave clearance at the bottom. Pieces shouldn't touch the kiln floor directly. They need a layer of kiln wash underneath. This protects both your shelf and your pots.
Essential Tools for Success
A programmable kiln controller removes most of the guesswork. If your kiln didn't come with one, investing in an aftermarket controller pays for itself in saved pieces. Kiln controllers ensure consistent ramps, automatic soaks, and reliable results—invaluable for beginners.
Cone packs are useful. Place a pack of firing cones (small pyramids that melt at specific temperatures) inside the kiln. They visually confirm you've reached the right temperature, giving you peace of mind when relying on mechanical indicators.
Test tiles are mandatory. Load a scrap tile with your glaze every single firing. It shows you exactly how your glaze behaves at that kiln's temperature and helps you spot problems early.
Moving Forward
Once you've completed a successful bisque and glaze cycle, you've cracked the fundamentals. Most of the anxiety eases after the first few firings—you'll start recognising what normal looks and sounds like inside your kiln. Pay attention to kiln sounds, colours, and cooling patterns, and you'll build genuine intuition for what's happening.
If you're still choosing a kiln, look for one with built-in controller options or programmer compatibility. If you're shopping for a controller specifically, prioritize one with ramp/soak functionality and reliable temperature sensors. These investments matter far more than top-of-the-range specs.
More options
- Electric Ceramic Kilns – Full Range (Amazon UK)
- Programmable Kiln Controllers (Amazon UK)
- Kiln Furniture & Shelves (Amazon UK)
- Kiln Vent & Fume Extraction Systems (Amazon UK)
- Jewellery & Small Specialty Kilns (Amazon UK)